

It’s up to you, the well owner, to make sure your well system is in good working order and that it’s providing a clean and safe domestic water supply. Therefore, pursuing proper well maintenance and conducting regular system inspections and water quality testing rank among the most important actions you can take around the home. Your family’s health depends on it.
As with any part of your home, your well system can become damaged or all-out broken in certain situations. It can and will degrade over time, though top-quality equipment and correct installation can go a long way toward extending your system’s working lifespan. While it’s easy to go the whole “out of sight, out of mind” route when it comes to your well, that mentality can have drastic consequences for your wellbeing and your wallet.
To help you extend the life of your system and ensure the safety of your water, here are four basic steps for evaluating your well water system and determining whether you have any problem areas that need to be addressed.
1. Check for Leaks
At least once a year, you should carry out a thorough inspection of your well and yard to check for any signs of leaks. Look for evidence of cracks, holes, corroded areas, and other potential weak points in the well casing. If left untreated, these issues could introduce contaminants into your water system. Hold your ear close to the exposed part of the casing to listen for trickling or flowing water, which might be a sign of a breach somewhere.
While you’re assessing the casing, you should also check around the well to make sure it’s still easily accessible, that the exposed cap and casing are clearly visible, and that the ground still slopes away from it to facilitate adequate runoff drainage.
You also want to scrutinize your property more broadly to make sure fuel tanks and any containers holding pesticides, herbicides, paint, fertilizers, and other chemicals aren’t leaking; if they are, that can release contaminants into the soil and groundwater.
2. Inspect the Well Cover
Whether from an improper well installation, damage, or wear-and-tear over time, a cracked or loose well cap can compromise your domestic well water system. That’s why it’s important to make sure the cap is properly secured onto your system. You should also check that the watertight seal between the cap and the casing is still intact and functioning.
3. Well Water Testing
You should conduct annual or biannual water quality tests to make sure your drinking water is up to standards. When doing this, be sure to test all faucets in the home. Standard chemical analyses done each year should assess for pH, iron, nitrates/nitrites, bacteria, and other basic indicators. You also want to test for lead, radon, arsenic, and volatile organic compounds (VOCs). If a specific contaminant is suspected, you should increase the frequency of your quality tests.
4. Check Your Home Water System
Finally, you should thoroughly check your home’s water system to ensure that it is functioning properly. This includes inspecting your water filtration system, water distillation system, and water softeners. If any of these components are not working properly, your well water may not be safe to drink.
Seek Out Professional Well Water Service in CT
The above steps are essential, but you shouldn’t rely solely on self-inspections of your well water system. It’s a great idea to occasionally have a professional check your well and make sure it’s working properly.
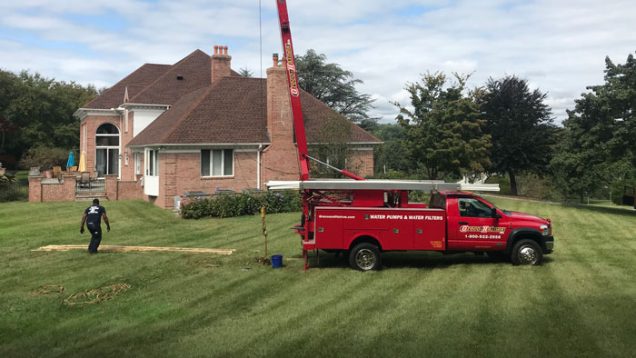
If you’re looking for a knowledgeable, experienced well water company in CT, you won’t find a better option than Greco & Haines. For decades, we’ve provided the best in well installation, well inspection, well repair, and water quality testing. Contact us today to schedule your well system checkup!